Steps to Conducting a Thorough Fire Damage Assessment (Post-Cleanup)
Restauration
4 min read

Share

Benjamin Brown
Director of Sales Acquisition
Watch the video on YouTube - Recently, we were at a property that had suffered extensive fire damage. The main contaminants from the fire had been removed, the contents were managed, and the team had scraped off the damaged paint and completed an initial smoke decontamination. Then, it was time for a detailed assessment to plan the restoration and bring the property back to its pre-loss condition.
In this post, I’ll show how we used magicplan to document every detail. From sketching the damaged areas to annotating photos, we aimed to create a comprehensive record of the damage and the cleanup efforts so far so that the recon team could move forward with the restoration process.
Preliminary Fire-Damaged Assessment Steps
Accurate preparation and documentation are essential for a thorough fire damage assessment report. With magicplan, you can easily capture room dimensions, identify structural elements, and annotate photos with specific details. Its user-friendly interface allows you to produce professional-quality sketches and documentation efficiently, making it an invaluable tool for any restoration project. These are the steps on how to sketch the room layout using magicplan:
1. Set Up the App:
Open magicplan on your device and create a new project.
Select "Create a New Plan" to start sketching a new room.
2. Initialize the Scan:
Use the LiDAR Auto-Scan feature to scan the room. Position yourself in a corner and aim the camera at the opposite wall.
The app will prompt you to move slowly to capture the room's dimensions accurately.
3. Capture Room Dimensions:
Move around the room, following the app’s instructions to scan each wall and structural elements, including fixtures.
Ensure you capture all corners, doorways, and windows. The app will create a digital outline of the room as you scan.
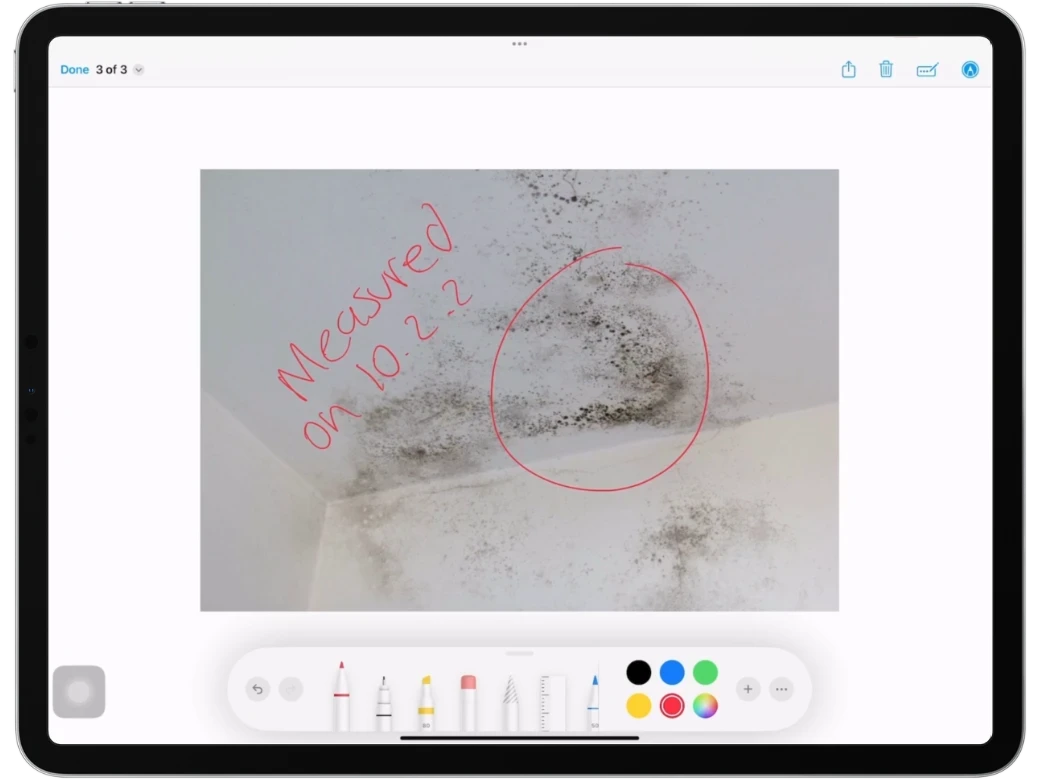
4. Annotate with Photos:
Take detailed photos of specific areas with structural damage. Within the app, you can attach these photos to specific points on the floor plan.
Use the annotation tools to highlight important details or areas needing special attention.
5. Review and Adjust:
After capturing all necessary details, review the digital floor plan for accuracy.
Make any adjustments to measurements or annotations as needed to ensure everything is precisely documented.
Best Practices for Accurate Documentation
magicplan’s LiDAR Auto-Scan feature can significantly streamline the documentation process, but it’s essential to use it correctly for the best results. Here are some tips:
Ensure Proper Lighting: Adequate lighting helps the app’s sensors accurately capture the room’s dimensions and features. Avoid dark areas or strong shadows.
Double-Check Measurements: Use a laser distance measurer to verify key dimensions captured by magicplan. This helps ensure the digital floor plan matches the actual room size.
Better Perspective: By stepping back, you can capture more of the room in a single scan, reducing the chance of missing important details, considering that close-up scans can sometimes miss or distort parts of the room.
Contextual Accuracy: Getting a wider view helps the app place elements in context, ensuring the overall layout is more precise.
By following these best practices, you can leverage magicplan’s capabilities to create detailed and accurate documentation, ensuring that every aspect of the room is properly captured and ready for the restoration process.
Finalizing the Sketch and Documentation
Adding Annotations and Photo References
To enhance the floor plan, add specific notes and images. Include text boxes to highlight key details and special instructions for damaged areas or any smoke damage. Attach photos directly to the floor plan to provide visual context for the restoration team. This ensures everyone involved has a clear understanding of the damage and necessary repairs.
Using Color-Coding for Damage and Room Types
Implementing color-coding improves visual clarity and helps differentiate between various areas. Use different colors to indicate the severity of damage, such as red for severe damage and yellow for moderate. Assign distinct colors to different room types, like blue for bathrooms and yellow for kitchens. This visual differentiation makes it easier to navigate and understand the floor plan.
Creating an SOP Checklist Using a Custom Form
To ensure thorough and consistent documentation, create a Custom Form in magicplan tailored to your assessment needs. This form should include fields for all necessary details and tasks. Develop a checklist that outlines each step in the assessment process, helping to ensure that no detail is overlooked. You can have multiple inspections for each process, such as the initial fire damage inspection, another for structural fire damage assessment, smoke damage inspection, and the fire damage cleanup process.
Preparing a Fire Damage Estimate
After completing the post-cleanup inspection, it's crucial to ensure that all line items are included in the fire damage insurance claim. Review the documentation carefully to identify any missing details. If you're using estimating tools like Xactimate® or CoreLogic, you can easily integrate magicplan sketches and photos into these platforms. This seamless integration helps ensure that every aspect of the damage is accounted for in your estimate, facilitating accurate and comprehensive restoration planning.
Conclusion
Assessing a fire damaged property thoroughly is essential for a smooth restoration. Using tools like magicplan and a structured approach helps document everything accurately. Sketching the damaged areas, taking detailed photos, and using color coding keep your records clear and organized. A custom checklist ensures no details are missed. With these steps, you can confidently complete any fire damage restoration job concisely to restore the property to its original condition.
SEE HOW YOU CAN PRODUCE DETAILED REPORTS WITH YOUR MOBILE DEVICE
Or continue with our Key Tools for Restoration Contractors


