9 Best Practices for Photo Documentation In Complex Restoration Work
Restoration
5 min read

Share

Bernd Wolfram
CPO
Photo documentation plays a pivotal role in the success of multi-faceted, large-scale projects. Read on to see why it’s essential and how you can gather it effectively.
Photo Documentation is a Critical Tool for Complex Projects
By providing an objective representation of a property's condition before, during, and after complex restoration work, this type of documentation is invaluable for:
accurately assessing damage and planning restoration strategies
communicating transparently with team members, clients and insurers
tracking progress and maintaining quality control
creating/sharing an accurate field report during any point of a project
improving project outcomes
helping assure completed work is approved and paid by insurers
protecting your business against potential disputes or liability issues
creating detailed historical records that can be referenced for future projects
However, collecting visual documentation of large projects is no small task. So, let’s look at some best practices that will help you streamline and perfect the process.
1. Establish a Systematic Approach
Develop a standardized system for capturing and organizing photos. This should include a checklist of required images for each type of project, and consistent practices for annotating photos.
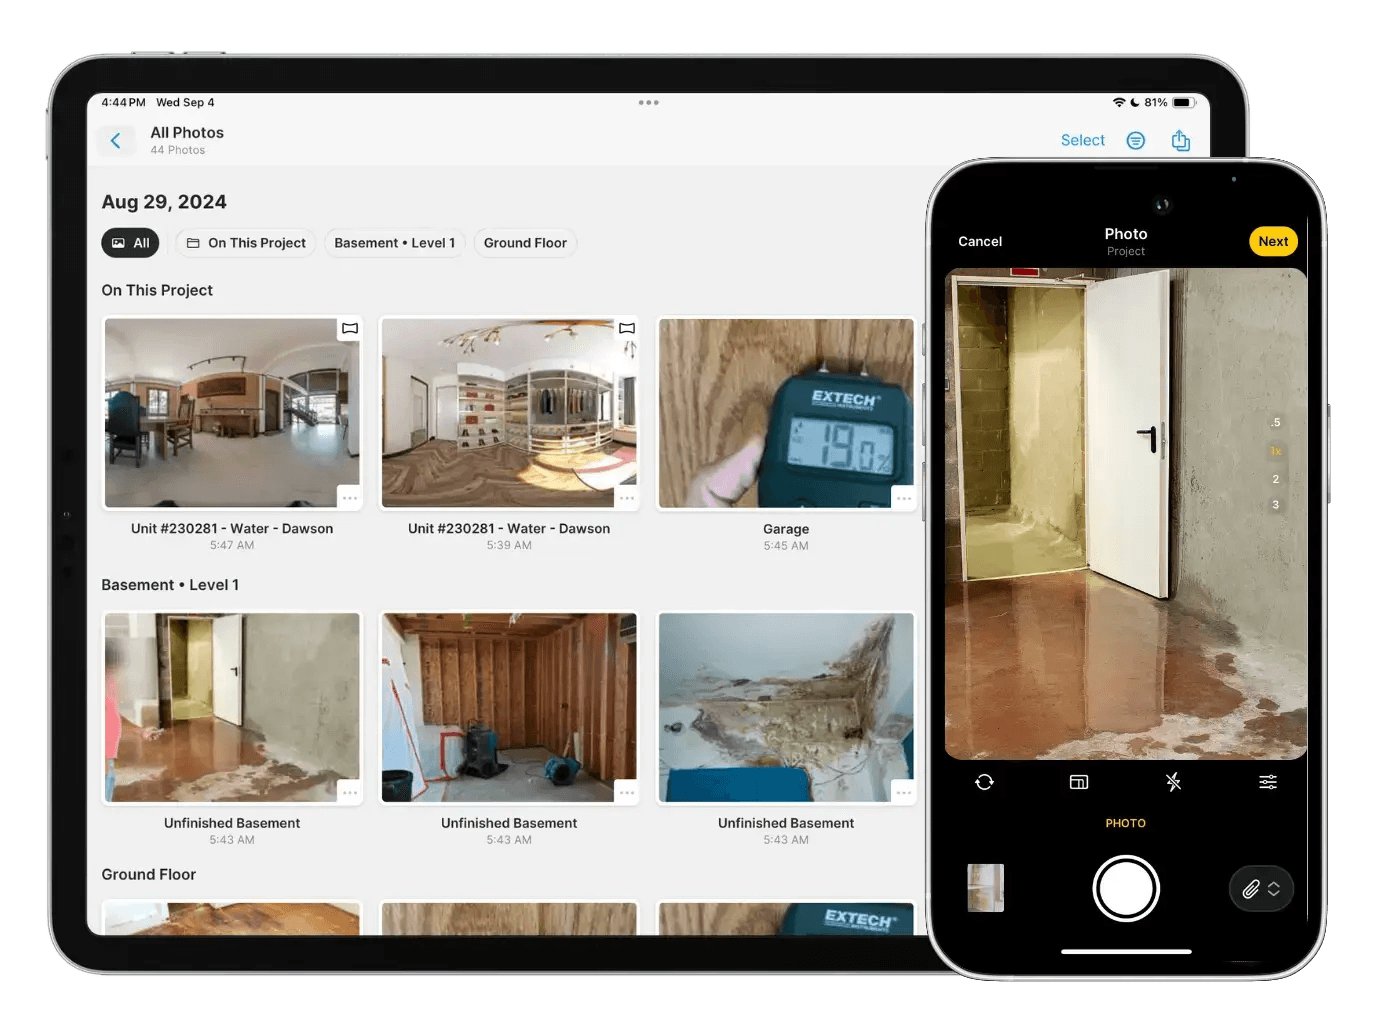
2. Utilize a Mobile Documentation App
A professional app, such as magicplan, will make photo documentation faster, easier and more effective. Here are a few key features to look for:
Ease of Use: Make sure it’s supremely easy to use, with intuitive controls and functionality.
Project Photo Galleries: The app should automatically organize each project’s images in a photo gallery, so that none get overlooked, lost or misplaced.
Annotation Capabilities: These help you communicate important details about images.
Precise Photo Mapping: This feature allows you to map the exact location of each photo on a floor plan sketch, thereby eliminating any guesswork about where your images were captured.
Sufficient Storage: The app should provide unlimited storage for project photos and files, ensuring that you never run out of space.
Anywhere Access: All project data and photos must be easily accessible.
Seamless Sharing: You should be able to share photos in real time for collaboration and transparency.
Professional Reporting: The app should also perform as photo report software. That means it should let you create and share photo-documentation reports that are informative and easy to understand (e.g., an initial assessment report, a mitigation report, or a final report).
3. Capture High-Quality Images
Sharp (versus fuzzy) photos provide a better representation of a property's condition, and can be crucial for addressing questions or disputes related to insurance claims. Therefore, investing in a newer mobile device with high-quality camera capabilities is a smart business decision. Smartphone cameras, in particular, have advanced tremendously in recent years.
4. Focus on Key Areas
Pay special attention to critical areas such as damaged structural components, evidence of extensive water or fire damage, and indications of existing or potential mold growth. You’ll want to make certain these areas are well-documented before, during and after restoration.
5. Ensure Proper Lighting
Proper lighting helps you capture the true extent of damage and the quality of restoration work, leaving no room for misinterpretation. It involves using additional lighting sources when natural light is insufficient, and avoiding shadows that might obscure important details.
6. Include Contextual Information
Enhance each image with photo notes (annotations) that provide sufficient facts, such as:
The name of the room where the image was taken
The date, time and project phase when the image was taken
A description of what is shown (e.g., the type and location of damage pictured, or the type of equipment or technique being used)
Related specifics, such as material measurements or instrument readings, if applicable (e.g., moisture readings that help document drying effects)
These details will make your photos more useful for all stakeholders involved in the project, and will help support accurate project management and billing.
7. Capture Photos During Different Stages
First, document the exact conditions at the job site before your team arrives.
Begin by taking a photo of the front of the property for identification purposes. Also, go inside and shoot sequential photos showing the pathway for getting your equipment in and out of the job (through doorways, around corners, going upstairs or downstairs, etc.). After that, take two or three photos showing the source of loss (a closeup, a shot from a few feet away, and then a wider shot for context). Then move on to document each affected interior room with the following images:
Take a few eye-level shots from two opposing corners (two different perspectives) for context.
Get a few photos of the damage (e.g., water damage pictures) to provide a clear look at what has been affected.
Photograph the contents in the room, the insides of closets and cabinets, the ceiling, the floor (and problems hiding under damaged flooring or behind damaged walls, if possible).
Obtain a 360-degree panorama of the room for added context.
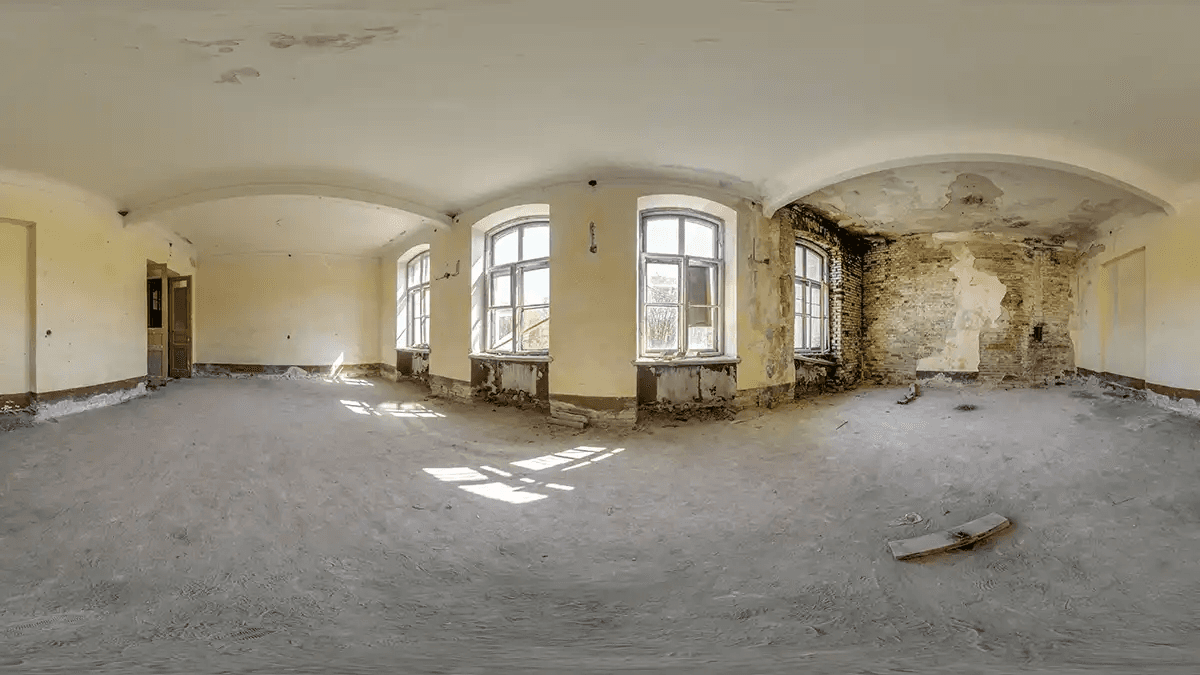
By capturing and annotating all of these initial images in a floor plan sketch, you’ll be off to a good start with your photo documentation.
Next, collect photos of work progress at different stages.
More specifically, take photos during setup, remediation, restoration, and after all work is done. This ongoing documentation establishes a clear timeline of the project, and illustrates processes, techniques and equipment used by your team. Remember to add photo annotations as needed.
This thorough approach creates a complete narrative of the restoration process, demonstrating the value of your company’s work and protecting against potential disputes. And remember: You control the narrative. So, take the pictures of the story that YOU want to tell.
8. Implement Regular Quality Checks
Make sure someone is responsible for:
Regularly reviewing images for clarity and completeness
Cross-checking photo documentation against project checklists
Addressing any gaps or issues promptly
9. Train Other Individuals to Manage Photo Documentation
If you’re unable to do all photo documentation yourself, then train other team members to master it. For example, you could communicate best practices for photo documentation, hold regular workshops on photography techniques, and provide guidance on how to use construction photo documentation software for optimum results.
Conclusion
The importance of photo documentation during complex projects cannot be overstated. If you feel that your documentation is lacking in depth, quality or organization, then commit now to making some improvements to your process. Use this guide to get started and you’ll be sure to get better results!


