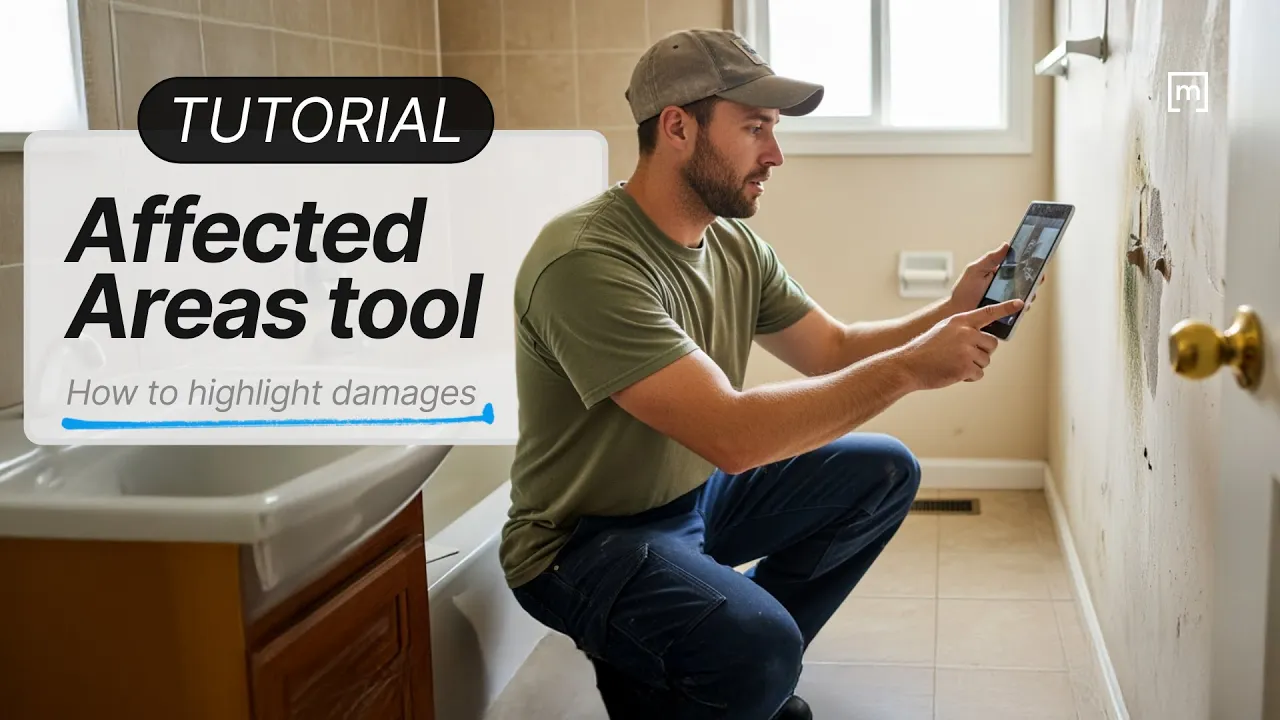
How to Mark Affected Areas Fast and Without Missing Details
Restoration
4 min read
Share

If you're out in the field and not marking affected areas directly in your sketch, you’re leaving room for doubt. Photos are good. A sketch is better. But showing exactly what got wet, burned, or covered in mold—measured down to the inch? That’s what gets adjusters nodding and invoices approved.
Here’s how to document affected areas in magicplan the right way, step by step. It’s fast. It’s clean. And once you get the hang of it, it’ll be second nature.
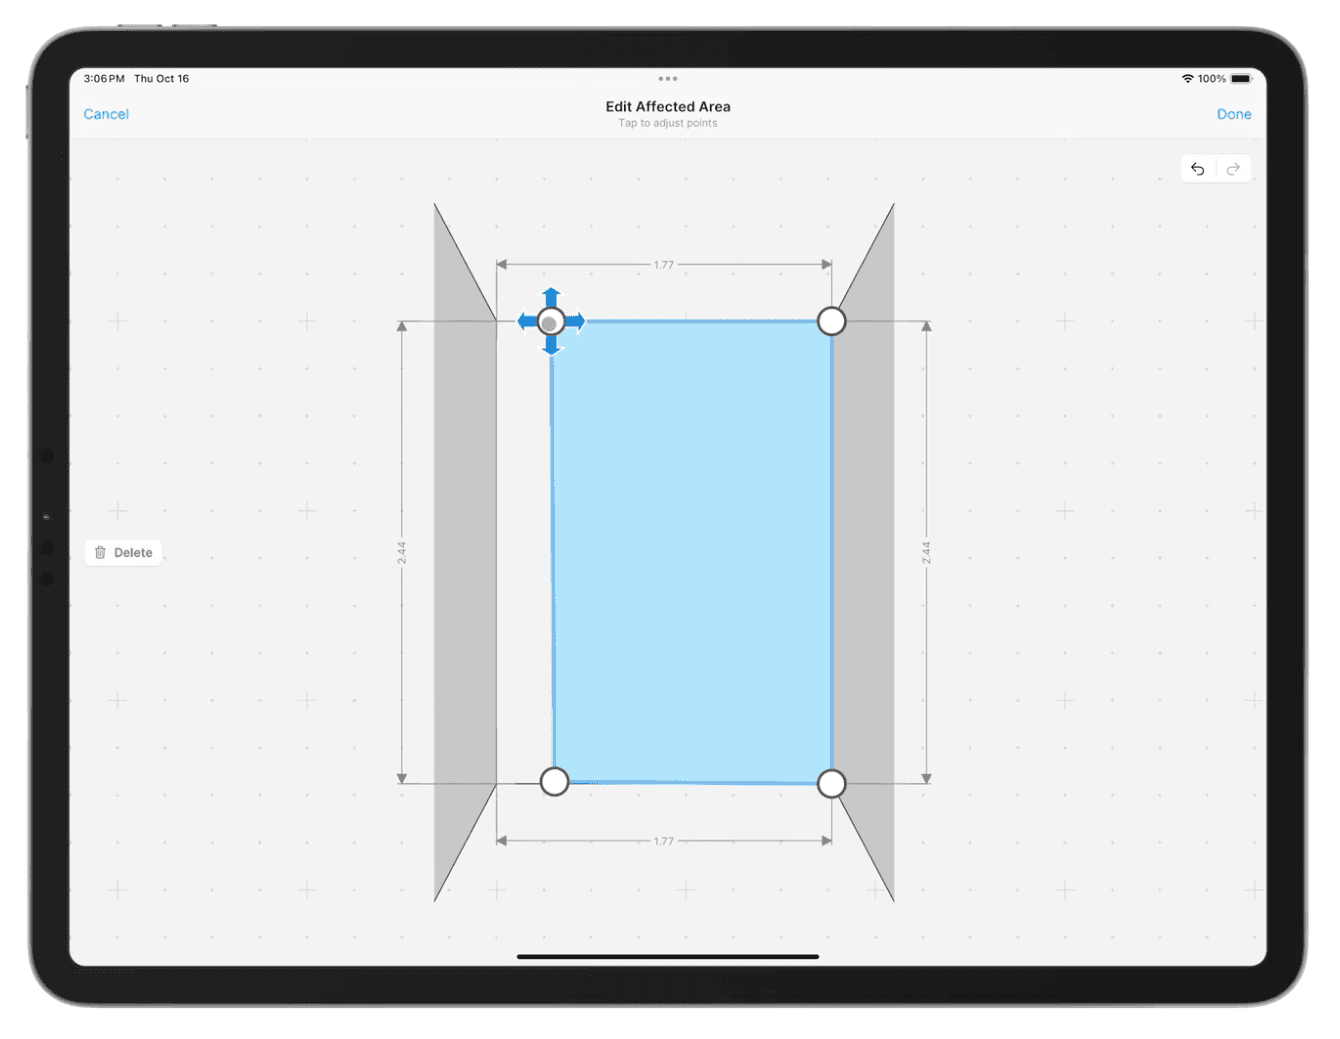
1. Start by Dropping in Your Affected Area
Got a water‑damaged corner in the living room? Select the room in the floor view. Open the info section and hit Affected Areas, then you can add a new area. A shape pops up—drag and resize it over the exact section of the flooring.
Right away, magicplan calculates the square footage. No guessing. No math.
✅ Pro tip: Use it to document any kind of damage: water, fire, mold, etc. The measurement stays locked in your sketch, tied to your scope.
2. Snap a Timestamped Photo
Take a photo inside the app, and it gets saved directly to the project, ⏰ complete with a timestamp. That way you’re not scrolling through your phone later trying to find the right shot.
Photos taken this way aren’t just proof—they’re part of the sketch. That’s gold when you’re asked to justify demo or drying work.
3. Label It Your Way
Call it “Bedroom Mold Area” or “West Wall – 2 FT Cut.” You can use your own naming system. Want to color‑code? Go for it. Some pros use blue for water, red for source, green for mold. Pick what works for your workflow.
📌 Learn more: See how to use custom forms & fields in magicplan to standardize your documentation → How to Use magicplan Forms & Fields to Close More Jobs in Less Time
4. Don’t Forget the Walls
Floor areas are obvious. Walls get missed sometimes.
Double‑tap a wall to switch into elevation view. Then draw your affected zone just like you would on the floor plan. This is huge when you’re dealing with pipe breaks or need to show the classic “baseboard to two feet up” cut.
It also helps explain why you’re demoing material the homeowner might think looks fine.
5. Sync Moisture Readings
If you’ve got a Bluetooth‑enabled meter like a Tramex, you can drop a pin right into your affected area and sync the reading. It’ll show up in the sketch.
Now you’ve got:
Square footage
Moisture content
A photo
Exact location
That’s a full picture. One that speaks adjuster language.
📌 Related link: For more on integrating measurement tools and moisture documentation, check out this post:How to Document Moisture Points Like a Pro (and Skip the Rework)
6. Export Your Affected Area Report
When you're done, hit export and select PDF. The report includes your sketch, photos, labels, measurements, and notes. It’s tight, clean, and defensible—ready to send to an adjuster or GC.
Why Does It Matters?
Marking affected areas isn’t just about looking sharp. It’s how you:
🔹Back up your scope
🔹Justify equipment and materials
🔹Prevent pushback from reviewers
🔹Defend your estimate
It helps estimators, speeds approvals, and documents the job in a way that holds up.
You’re already doing the work. This is how you prove it. You can find some more interesting info to improve the workflows here → How to Train Techs to Document Like Estimators.
Wrap‑Up: Use What You’ve Got
magicplan isn’t just for clean floor plans. It’s a field tool. Built for what you’re actually doing—demo, drying, and documentation.
Start using the affected area feature. It takes minutes and saves hours down the line.
🔧 magicplan tip: Using affected areas along with moisture pins & photos helps build trust with estimators. It also prevents the “I need more info” email chain that eats up your week.
Learn more:


