The Complete Water Damage Restoration Workflow: From First Inspection to Final Report
Restauration
5 min read
Every water damage project generates valuable information: photos, measurements, moisture readings, equipment placement, forms, and floor plans. The challenge isn't collecting that information, it's keeping everything connected.
When field documentation is scattered across multiple apps and paper forms, teams spend unnecessary time searching for information, answering questions, and recreating work. A connected restoration workflow keeps every detail in one project, making it easier to collaborate with the office, communicate with insurance carriers, and keep projects moving.
1. Start with the Initial Inspection
A complete job begins before anyone starts drying. Capture exterior reference photos, walk through the property, and document every affected room with a floor plan, photos, and voice notes. If you're using LiDAR, rooms can be scanned directly on site. Without LiDAR, a Bluetooth laser meter provides accurate room measurements that feed the same project.
2. Record the Information That Matters
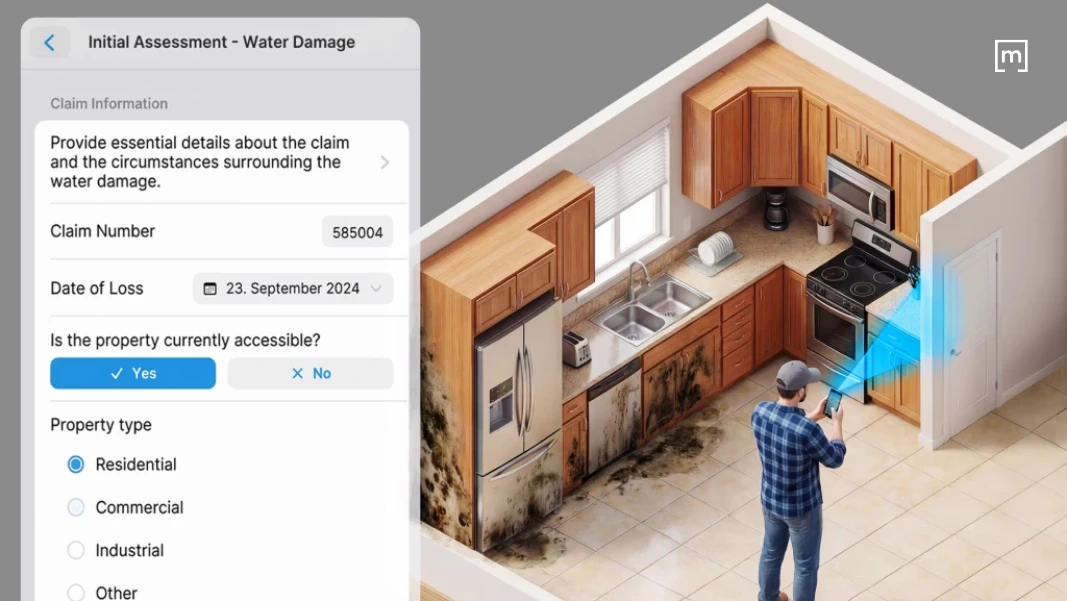
As the inspection continues, complete digital water loss forms, record claim information, identify the source of the loss, capture timestamped photos, and collect customer signatures. Keeping this information linked to the project ensures nothing is lost between the field and the office.
3. Map the Damage
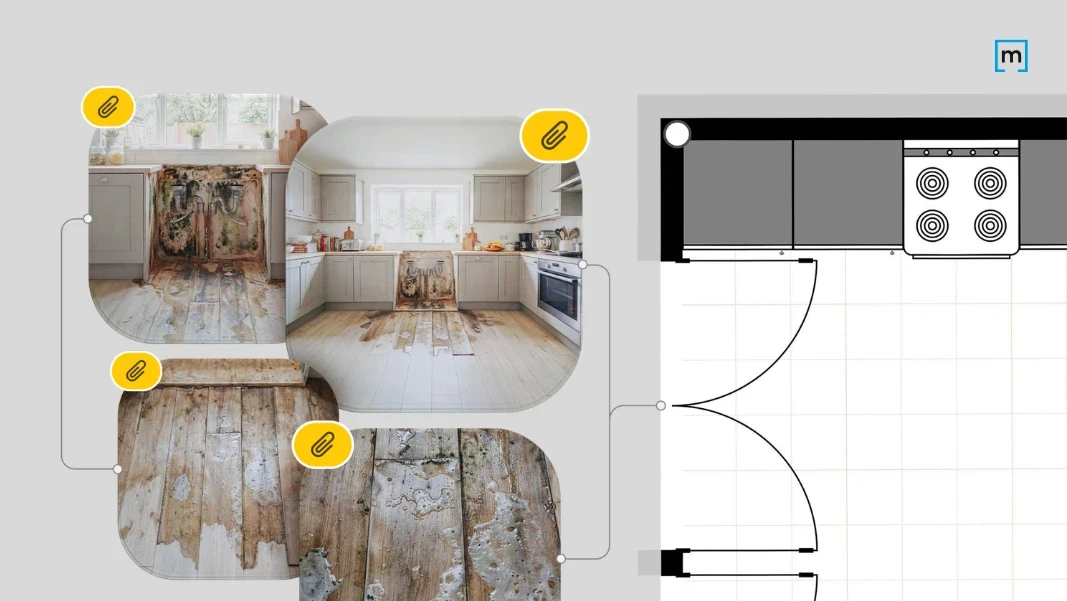
Photos show what happened. A floor plan shows exactly where it happened.
Mark affected floors and walls, identify the source of the damage with annotations, colour-code affected areas, and even define containment zones. Every marked area becomes part of the project and can later be included in exported reports and ESX files.
4. Track Moisture and Drying Progress
Moisture mapping provides the evidence behind every drying decision.
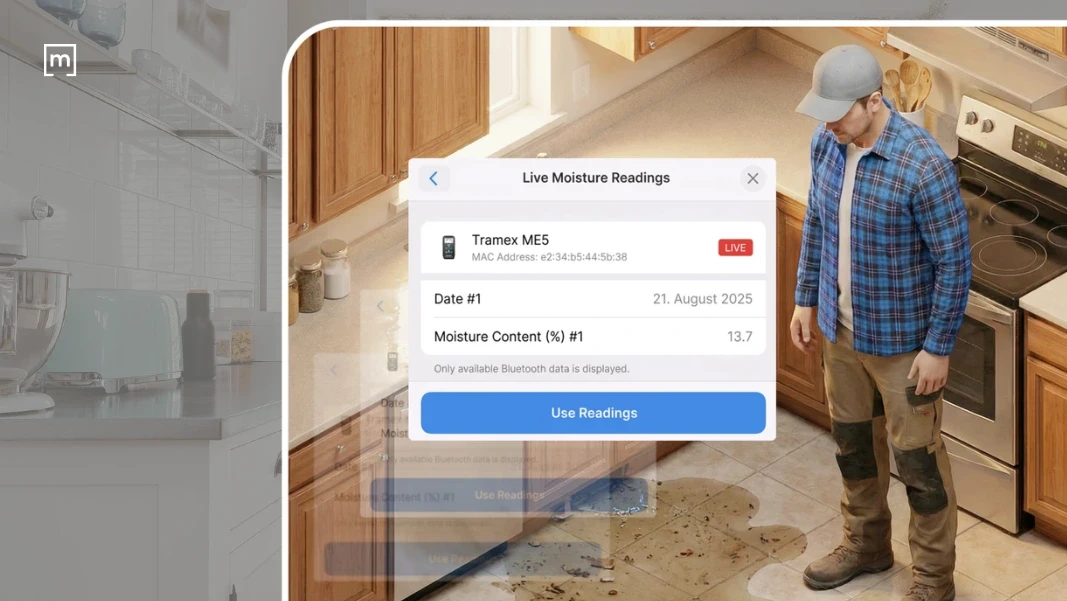
By connecting compatible Tramex moisture meters directly to the project, technicians can capture readings, assign them to the correct materials, attach photos, and return to the exact same locations on subsequent visits. This creates a documented drying history instead of isolated moisture logs.
5. Document Equipment Placement
Equipment placement is just as important as documenting the damage itself.
Place air movers and dehumidifiers directly on the floor plan, following your drying strategy, and attach photos to each piece of equipment for additional context. This creates a clear record of what was installed, where it was positioned, and why.
6. Export Everything in the Right Format
Once the project is complete, export everything in the format that fits your workflow.
For Xactimate users, ESX exports transfer floor plans, affected areas, plumbing information, and other project data into the estimating process. For documentation, interactive PDF reports include photos, floor plans, moisture readings, forms, timestamps, affected areas, and signature fields in a single report that's ready to share.
7. One Job. One Complete Record.
The best restoration workflow isn't about creating more documentation, it's about creating documentation once.
When floor plans, photos, forms, moisture readings, equipment placement, annotations, and exports all belong to the same project, crews spend less time rebuilding information and more time moving the job forward. That's how modern restoration teams reduce duplicate work, improve communication, and create documentation that stands up throughout the life of the claim.
READ MORE: Why Field-to-Estimator Handoffs Fail & How to Fix Them for Good